


DEVELOPMENT
ONLINE
PROJECTS
|
|
|
|
|
DEVELOPMENT |
ONLINE
PROJECTS |
|||||
| Encaustic Stylus : the low heat tool for graphic detail ... | |
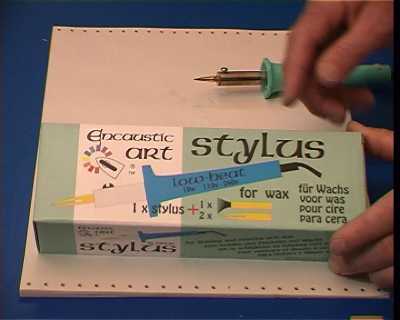 |
This tool is made to hold the low stable temperature required to melt
yet not burn encaustic art wax block colours. So if graphical input is what you want then this is the tool for you. It works on both 110v / 240v electrical supply and consumes 10watts. |
|
|
... where you see this icon in the techniques index you will find items and explanations that strongly involve use of the stylus |
|
|
...click this button for detailed information on the stylus & tips |
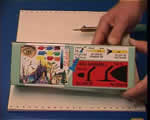 |
The stylus unit is sold in a coloured box complete with 2 drawing tips and one brush head. The mini iron and micro iron tips are also available as separate items, enabling further development of controlled encaustic working |
 |
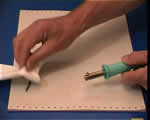
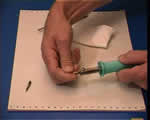
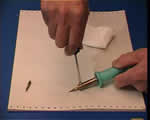
Changing the various heads around is very easy. * You will just need a philips screw driver - the type that works
with cross headed screws. |
 |
Ideally the heads should be changed over when the stylus is cool, but of course, most of the time when you want to change the tips over the stylus is hot. Be careful not to touch the silver heating element.
|
 |
|
 |
|
 |
|
 |
|
 |
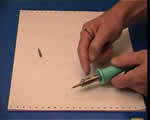
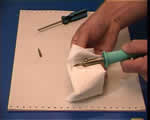
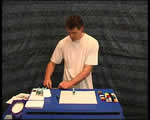
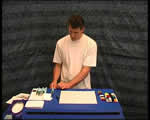
The stylus needs to be placed in a safe position on your work surface. Keep you heated tools on the side where you use them - right for right handed users, left side for left handed users. Some people use elaborate devices or soldering iron stands to keep the stylus in place. However, sometimes this can damage the heads so be careful. Many such stands use a spring which can knock the edges of the tips and is especially destructive towards the fine and delicate wires of the brush head. A perfectly acceptable way to use the stylus is just to carefully lay it on the work surface, but there is a danger that the weight of the cable can pull it off and when it hits the floor you can bet it lands point down! This tip shows you how to make a quick and cheap safety stop that helps
keep the stylus on the table and the heads intact. It's worth the short
time and effort it takes, so please don't skip the |
|
|
 |
| GO TO |
|