


DEVELOPMENT
ONLINE
PROJECTS
|
|
|
|
|
DEVELOPMENT |
ONLINE
PROJECTS |
|||||
| Rubbed Sky : Crayon & smudge the wax colours for sky ... | |
 |
To make a simple sky effect without the use of any heat you can just lightly crayon on the encaustic wax colours then rub them with your finger until they form a gentle soft sky effect. This technique has many other applications but a soft sky landscape is a good way to learn. |
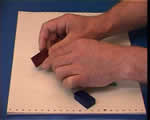 |
The colours used here for creating the rubbed sky are You need to get rid of hard edges or corners before you start the crayoning-on process. |
 |
Do this by firmly rubbing the edge that you want to use onto some scrap paper so that a rounded edge is formed as the corner becomes abraded.. |
 |
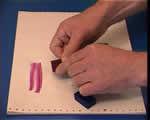
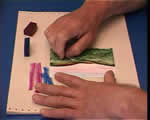
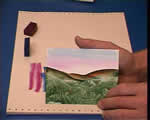
Complete a landscape section with no sky and dab in some rough foreground. Now gently and softly crayon on a band of the |
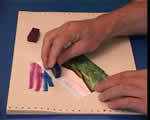 |
Next, add a band of the |
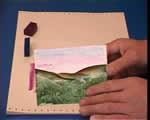 |
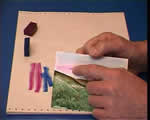
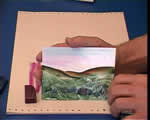
The sky colours are now crayoned lightly into place and are read to be "rubbed". |
 |
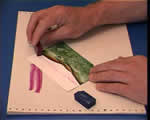
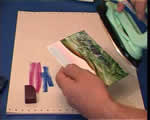
Use the tip of your index finger and briskly rub from side to side in small areas at a time. The friction from this rubbing will soften the wax sufficient to smudge the colour together into a soft film. |
 |
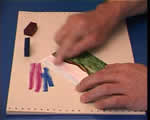
It is important to hold the card securely with your other hand otherwise it is very easy to buckle the card and spoil all your work. |
 |
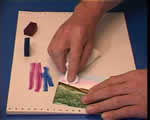
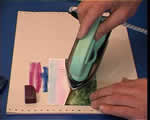
Make sure that you hold the card flat on both sides of the area being
rubbed. Work over all the crayoned on colour until the whole sky area is
soft and blended - no hard or sharp lines of colour left. NOTE: this actually requires quite a bit of vigerous effort and some older or weaker hands may find this technique rather demanding. |
 |
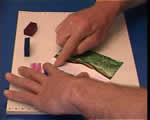
If you apply too much wax in the beginning then these areas will become "grainy" and not look pleasing. |
 |
So, to remove any excess wax colour just get a piece of tissue and with it wrapped around your finger, rub over the excess to remove much of the wax colour. |
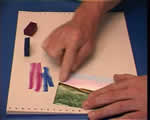 |
... then simply use your bare finger again to smudge the colurs back into a smooth and pleasing result. |
 |
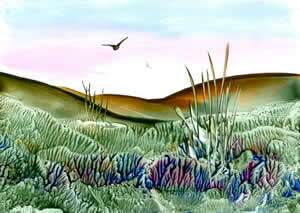
The finished rubbed sky should be soft and even to look at and sheds a gentle calm light into the image when done successfully. |
 |
If the sky is blue and pink then this is the colour of the light in the picture. These colours should be reflected in the remainder of the image, so add small spots of the sky colours onto the iron ... |
 |
... then dab these into the foreground to create a subtle colour harmony effect. |
 |
Too much |
 |
Finally add in the grasses, birds and any other details you are including, in the normal wat using the iron (or stylus details). |
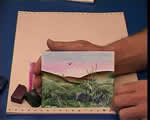 |
The finished rubbed sky image is both pleasing and effective. It works best with the stronger colours because the rubbed film is a very thin layer of colour. Some of the light colours are not worth using, but this technique can also be a great background for indirect wax transfer techniques too. Try it soon and you will see. |
| GO TO |
|