


DEVELOPMENT
ONLINE
PROJECTS
|
|
|
|
|
DEVELOPMENT |
ONLINE
PROJECTS |
|||||
| Aperture Cards : mount your artwork for greetings cards ... | |
 |
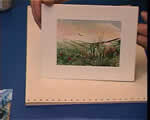
Aperture cards are a great way to present your smaller artwork for family and friends to receive and enjoy. This is one of the most popular ways to share your creativity with others and save the cost of buying manufactured cards - these savings go to make your Hobby and Art more viable and even profitable if you decide to sell the cards. |
 |
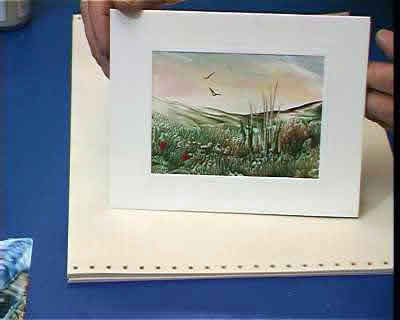
Start by finding some aperture (window) cards that have 3 panels of equal size, where the middle one has an aperture cut out. The artwork is placed behind this window and covered by the spare fold-over panel to form a conventional 2 panel single fold greetings card. There are numerous designs, shapes, colours and sizes of aperture cards to be found - simple is often best though - see the online shop |
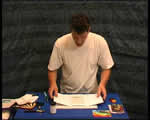 |
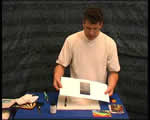
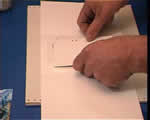
It is important to be completely ready before you start assembling the cards. People often use the wax sealer on their polished artwork in this situation because the images may get abraded in the postal envelope or handled by the recipient, etc. Create a clean working area, free of any wax or other dirt. Lay out a clean underpaper to protect the face of the card whilst assembling. |
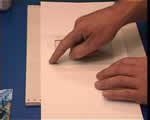 |
The easiest way to stick everything together is to use double sided tape. Place a strip of this on the inside face of the middle panel around each side of the window aperture, keeping about 2mm back from the actual cut edge. Peel off the protective strips ready for placing the artwork. If you can't get double sided tape use a good glue then press the card under a heavy book after assembly. |
 |
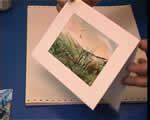
Place the prepared artwork carefully in the window so that the edges lie on the exposed sticky tape and the image shown correctly through the aperture. Make sure that the image is correctly oriented - the right way up! |
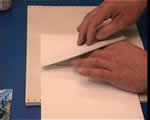 |
Now fold over the covering flap and carefully press it down to make a nice flat card. Careful here, I've often folded over the wrong flap only to discover the card is then the wrong way round. |
 |
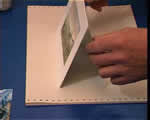
The card is now ready for you to either write in or to be packed with an envelope in a clear protective wrapper - normally a clear polypropylene type. |
 |
The card can be used either in landscape or portrait format, depending on the image orientation and also provided the cards you are using have an equal border on each edge. |
 |
Presentation really is the key to boosting the appearance of your creative efforts. A nice card gives space and purpose to your artwork, and if you choose carefully these cards are often designed to fit into standard frames, so your greeting to a friend can become a frame treasure for them to keep and remember you by - very satisfying to find your own artwork respected and precious. |
| GO TO |
|