DEVELOPMENT
ONLINE
PROJECTS
|
|
|
|
|
DEVELOPMENT |
ONLINE
PROJECTS |
|||||
|
Rubber Stamping with Encaustic Art By Michael Bossom, Arts Encaustic International ©1999 Rubber stamps provide numerous different images and make it simple for everyone to produce good graphics. But how can these be elaborated into more complete pictures? How can people who can't draw or paint manage to produce an environment for the stamped image? Simple, just use coloured waxes applied with a low-heat iron and work the wonderful wax effects right over the stamp! Encaustic Art is a fascinating Hobby Art. Anyone can melt wax onto sealed card (gloss) for abstracts and simple landscapes. Further skills enable wonderful creativity. |
|
|
|
|
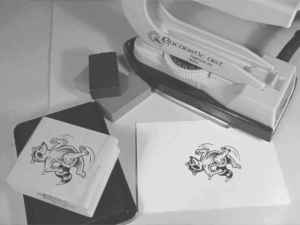
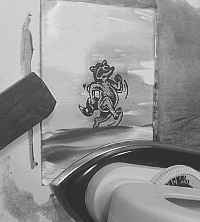
Step 1 Take a piece of the sealed gloss encaustic art card and print on the rubber stamp using a dye based ink. When it is completely dry plug in the iron and set the temperature to low. Now melt a coating of the clear wax all over the iron's base. This is to ensure the wax is not too dark because if it is then the stamp will be hidden! So only add a small amount of colour to the top half of the iron (the light sky) but a bit darker colour in the lower half (the ground). |
|
|
|
|
|
|
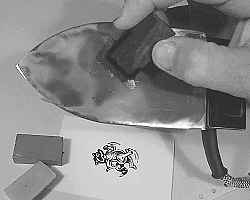
Step 2 It is time to gently smooth the waxed iron over the card and stamped image. If the wax has not spread perfectly you can go over it again. If necessary you can also add fresh wax to the iron and re-apply this on top of the original wax. |
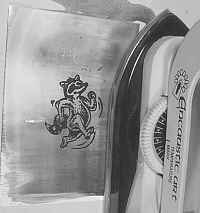
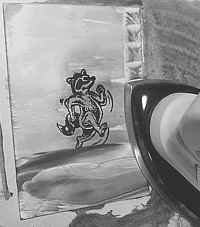
Step 3 Next put a bit more dark coloured wax on the iron and spread it along just under our stamped furry friend. The dark colour needs to touch the lower foot, giving him something to stand on� |
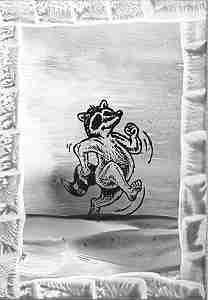
Step 4 Finally place the tip of the iron about 1 cm onto the edge of the waxed card. Work down the edge by lifting and placing 1 cm further down each time. This simple border finishes the image which should then be polished with tissue for a perfect shine. |
| GO TO |
|