


DEVELOPMENT
ONLINE
PROJECTS
|
|
|
|
|
DEVELOPMENT |
ONLINE
PROJECTS |
|||||
| Mixing Wax Colours : remelting blocks for new colours ... | ||
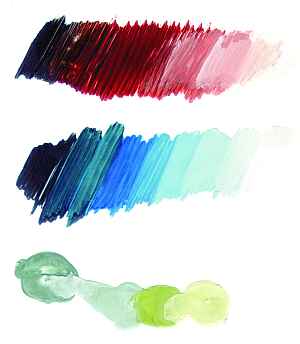 |
Colour mixing is a very satisfying and interesting activity and can make those little pieces of left over wax precious and valuable. Adding white makes any colour a lighter pastel shade with a more opaque hue. Adding clear wax weakens the colour intensity, making the hue paler and more translucent. Mixing colours creates new hues - basic colour mixing knowledge applies to wax colour:
|
|
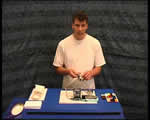 |
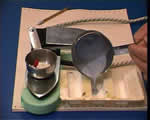
To get ready for a mixing session clear off your work area, then lay out the upturned iron in the form of a mini hotplate, and get your mixing utensils, molds and cleaning tissues at hand. You also need the small pieces of wax colours - I usually group these into reds, yellow, greens, etc. Have some extra white blocks handy too, especially if you intend to make lots of pastel shades. |
 |
These inexpensive small stainless steel saucepans are actually small measuring cups, normally sold in sets of different sizes in super markets and cook shops. They are ideal for this activity and allow easy cleaning after use, whilst avoiding the contamination that other metals like aluminum can make in colour mixing. |
 |
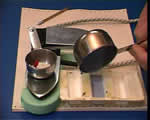
Collect together the pieces that you want to mix and place them in the mixing container. |
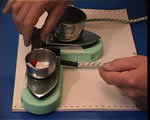 |
Put the container onto the mini iron hotplate with the temperature already set to around low / medium. You do not need to use a hotter temperature and if the iron is left on too hot the wax will fume and create a hazy in the room - open a window to provide ventilation anyway. |
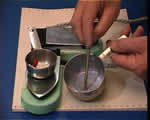 |
As the colours melt give them a stir occasionally to blend all the pigments
in the new mix. You may choose to add more bits of colour to lighten or
darken or change the bias of the colour. |
 |
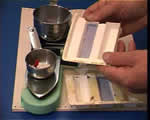
When all the lumps have melted and been mixed into an even colour that you like it is time to pour out the wax into a mold. CARE: check the temperature of the handle carefully before grabbing it - you may need a protective cloth or similar if the handle has got hot! |
 |
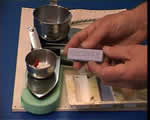
Empty out the mixing container completely into a mold of some sorts - like this beekeepers wax mold - paper cake cases or aluminum pie cases also work well. Even strong plastic ice cube containers can be good. |
 |
Allow the wax plenty of time to cool down - it will shrink slightly during this process. It can help to speed up the cooling if you lay the containers next to an open window. If it is difficult to get the wax out once the colours have cooled then try putting the mold into a freezer for a few minutes to shrink the wax even more. |
 |
New colours that can be made especially for your projects. No waste and another fun and creative experience. Colour mixing can teach a lot about how the differing hues combine to form new ones. Enjoy this economic and rewarding activity! |
| GO TO |
|